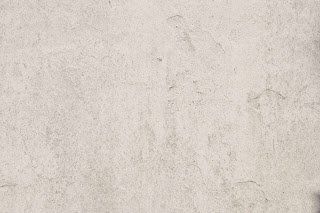
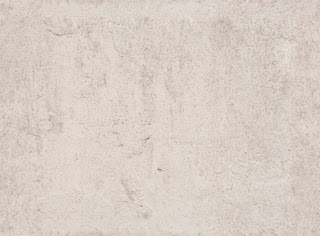
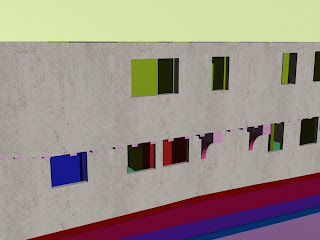
First part of animation will show the overview of Guildhall exterior. The wall will take most of the screen space so the material has to be convincing and visually appealing. The texture image is going to be used for the exterior wall. The first step was to sort out the mapping coordinates. Each wall was applied with UVW mapping modifier. The walls were applied with UV template image to see how the texture will lay down on the model and see unwanted stretching.
Every wall mapping parameters were set to the box. This worked very well making mapping uniformed.

The wall material was created using image that I took during the Finchingfield trip. In the beginning I tried to apply texture as material. This gave very noticeable tiling effect. To avoid that edited the texture in Photoshop. I copied bottom and left edge of the texture. Then I flipped and rotated them. With patch tool I blended the intersections of different image parts. And here is the before and after result.


Wall material Bump map was created by desaturating the texture image and applying high pass filter.
Final result.


No comments:
Post a Comment